
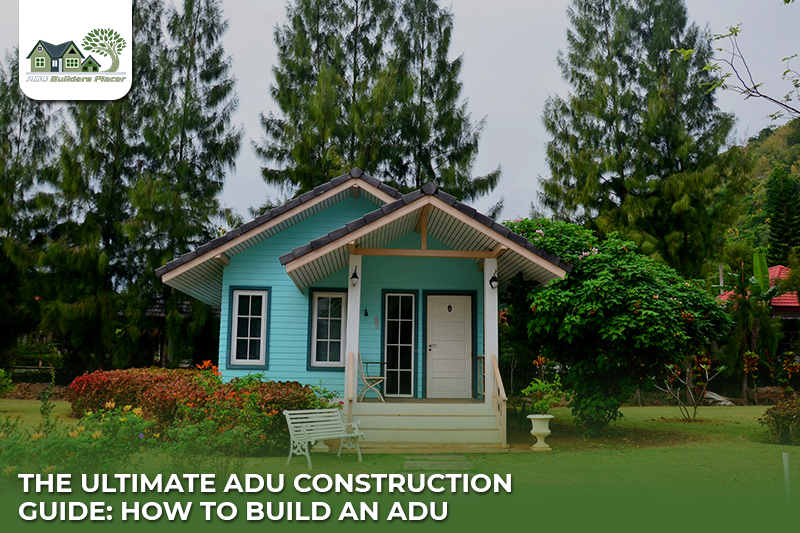
Are you contemplating the possibility of building your own ADU in your house? If you are in search of extra area, rental revenue, or an alternative to a flexible lifestyle, making one of these ADUs (Accessory Dwelling Units) could be among the best decisions you will make. In this guide, we’ll take you through every step of the process, step by step. No fluff. No confusion. Real useful guidance.
Let’s break it into pieces as if we are sitting around the table together.
Why Build an ADU?
Before we dive into the procedure, we need to understand the reasons ADUs are a game-changer:
- Rental income: Earn passive income each month.
- Family use: A space for parents who are aging, children, or guests.
- Studio or home office: A space that is quiet to work from or make art.
- Enhance the value of your property: Houses that have ADUs usually sell for more.
- Long-term flexibility: Use it today. Lease it out in the future. You can also transform it into a retirement savings plan.
Step 1: Understand Zoning Laws
Before building any project, be sure to make sure you are aware of your county’s or city’s ADU zone rules. This includes:
- Minimum lot size
- Setbacks (how far away the ADU should be from property lines)
- Maximum area
- Limits on height
- Parking regulations
- If the owner is required to reside on the property or not.
The local planning office typically has clearly defined ADU guidelines for you to follow.
Step 2: Define the Purpose of Your ADU
What are the reasons you’re creating this ADU?
- For renting?
- To use for family or personal reasons?
- To add property value?
This is the reason you should be able to guide you, starting from your design and budget to permits and finishes.
Step 3: Set a Realistic Budget
Here’s a rough outline:
| Expense Category | Estimated Cost |
| Design & Permits | $10,000-$20,000 |
| Site Prep & Utilities | $15,000-$30,000 |
| Construction Labor | $60,000-$150,000 |
| Interior Finishes | $15,000-$50,000 |
| Furnishing | $5,000-$10,000 |
Always save an additional 10-15% for unexpected events.
Step 4: Choose the Right ADU Type
ADUs come in various varieties. Find the best one for your property and needs:
- Detached ADU: A Separate unit situated in the backyard.
- Attached ADU: That is built onto the main house.
- Garage Conversion: Make your garage a living space.
- Basement ADU: Turn your basement into a private apartment.
- Modular or Prefab: Built somewhere else and quickly installed.
Step 5: Design with Functionality and Efficiency
A clever layout makes the most difference in a compact space.
- Studio or 1-bedroom?
- Loft-style or seniors-friendly?
- Built-in storage?
- Natural light?
You should also consider features that are energy efficient. THings like solar panels and the insulation of your home. Smart thermostats along with Energy Star equipment.
Step 6: Get Your Permits
The most common things needed are:
- Building permit
- Plumbing permit
- Electrical permit
- Mechanical permit
Employing a skilled architect or builder helps to reduce the chance of delays. They are familiar with all the important codes and procedures.
Step 7: Prepare the Site
This includes:
- Testing of soil
- Land clearing
- Trenching to provide utilities
- Designing driveways, walkways, or walkways
If it’s an outdoor ADU, be sure to have enough space for access.
Step 8: Build Your ADU (Step-by-Step)
1. Pre-Construction
- Finalize the plans
- Submit permits
- Find your team
2. Foundation
- Excavate
- Pour concrete
- Install slabs or footings.
3. Framing
- Floors, walls, and the roof
- Windows and doors
4. Utilities
- Plumbing, electrical, HVAC
5. Interior
- Drywall, flooring, cabinets, lighting
6. Exterior
- Painting, siding, roofing, landscaping
7. Inspection & Approval
- Inspections are passed
You will receive a proof of occupancy
DIY or Hire a Pro?
DIY might work if:
- You’ve got hands-on experience
- The scope of the project is modest (like an old garage converted)
Hire pros if:
- The clock is ticking
- Local codes are complicated
- You’re looking for quality that is guaranteed
Experts can assist you in avoiding costly errors.
Prefab & Modular ADUs
They are quick and efficient. The benefits include:
- Construction time is shorter
- Fixed pricing
- Factory-level precision
However, make sure to check if your town permits prefab homes and if they meet your requirements.
Utility Connections
Every ADU requires:
- Sewerage and water
- Electricity
- Internet
- Gas (optional)
Certain cities allow the sharing of utilities with the main residence. Others require separate meters. Make plans early.
Optimizing Space in a Small ADU
ADUs typically range from 500 to 2000 square feet. For the best use of it:
- Use loft storage
- Install furniture that folds
- Include built-in shelves
- Design your designs in a minimal, open, and clear way.
After Construction: What’s Next?
- Final inspections
- Turn on the utilities
- Decorate and furnish
- Create a routine for maintenance
The time has come to move in, or let it out!
Renting Out Your ADU
It is possible to earn between $1200 and $3000 per month based on the location you live in.
- Find out the local demand for rental
- Make sure you write a valid lease
- Think about hiring a property manager
- Make sure you follow your city’s rental regulations. Because some cities do not allow short-term rentals like Airbnb.
What’s Your ROI?
Your Return on Investment depends on:
- Rent income
- The value of homes increases
- Tax deductions
- Energy savings through energy-efficient features
Online ROI calculators to calculate yields over 5, 10, or 15 years.
| Challenge | How to Handle It |
| Zoning restrictions | Research early |
| Permit delays | Hire experts and stay organized |
| Budget overruns | Include a contingency buffer |
| Lack of skilled labor | Book contractors early |
Bonus: ADU Expansion Ideas
After your ADU is completed, you can continue to:
- You can also add a patio or an outside space.
- Install solar panels
- Vertically expand (loft or a second floor)
Make a plan for the future. ADUs are able to change according to your demands.
The ADU Construction Checklist
- Check zoning regulations
- Determine your goal
- Make the budget (plus 10 percent buffer)
- Choose layout & design
- Employ an expert (or do it yourself)
- Request permits
- Create the site
- Build in stages
- Final inspections
- Rent out or move in
Ready to Start?
Are you thinking about constructing the possibility of an ADU for your home? No matter if you are looking to construct from scratch or opt for prefab, we are ready to assist. From concept to ADU permits to ADU construction, we can help.
Call us today to schedule your free consultation.
Frequently Asked Questions
Generally, it takes 6-12 months from the time of beginning to moving in, based on the size and permit.
The answer is yes, provided that the local laws permit it. Make sure you check the lease terms and requirements as well as all the rules for owner-occupancy.
They could be most notably due to speedier construction times and fewer labor hours. But it will mean less personalization.
It’s not always the case, however, in certain cities, an additional address or meter must be used. You can check with the city’s building department.